I’ve worked on a picture of a Volkswagen Beetle using Darktable and Gimp for post processing. This two tools are free available free software. Darktable is for now available on Linux and Mac OS X but Gimp is available for most platforms.
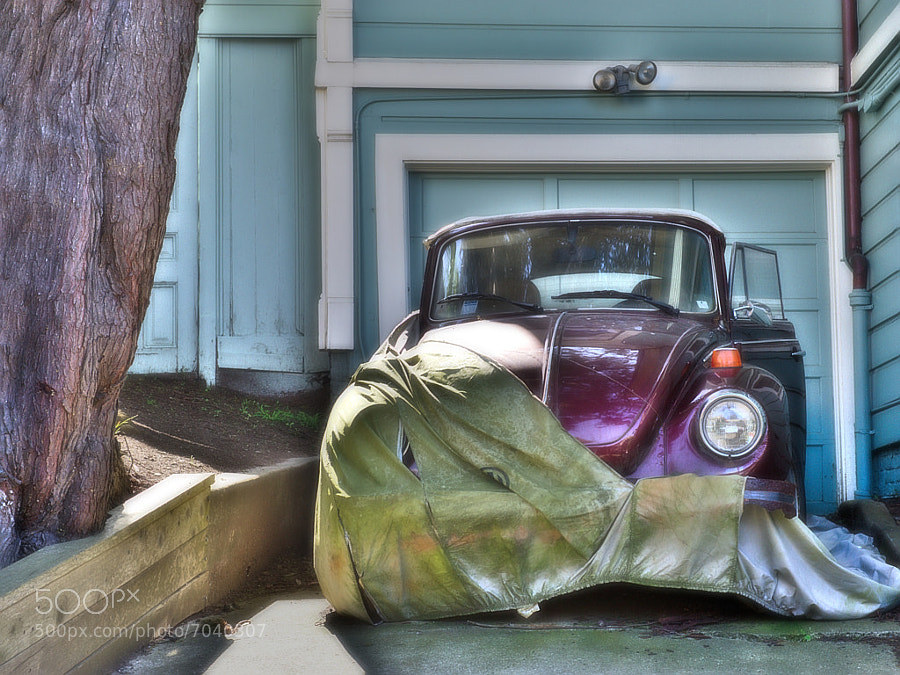
The picture was made during autumn 2011 in San Francisco. It features an old Volkswagen Beetle in a parking near a house. There is an old cover on the car which gave a strange pirat look to the car. The picture straight out of the camera is the following:
")
A Beetle is a fun car and I did not want to make a sad picture from this photography. I thus decide to make my best to transform the original picture in a shiny colorful seventies spirit image. Most technical parameters of the RAW file are correct: The exposure is almost good if we omit some highlights and sharpness is here too. It is thus a good basis to work on.
The main problem of the image is that the car is dark. To enlighten the dark part of an image, on of the best tool of darktable is “shadows and highlights”.

Just activating it with default settings in enough to improve the situation but here we need to increase the effect. I thus set the shadow value to something like 170% to get a really lightful car. The color become light but not enough flashy. It then used the “color zone” filter to boost the color of the car by increasing the saturation for the main color of the car. I’ve also increase the light in the blue to have a less dark house.
This was enough to have what I wanted in term of color but I also wanted to give on oldies look to the picture. For that, I used the soften filter:

I’ve not done much personal setting here, just changing the size parameter.
The result was matching my expectation:
")
Hummm, almost matching. The sun light is making a too bright zone in front of the car. I thus decide to use gimp to locally decrease the lightness in that zone.
I opened the JPEG export in Gimp. I used the “Fuzzy selector tool” (activating the “Feather edges” option) to select the highlight zone. I copied this selection into a new layer and simply decrease the lightness of the extracted zone.
The result was an old but shiny Beetle. You can see it on 500px: